Downgrade Nexus 4 To Android 4.3 Jelly Bean From KitKat [How-to]
Earlier today, we reported the various issues Nexus 4 owners are facing after updating their handset to Android 4.4 KitKat including Bluetooth connection dropping, random reboots and more. If you are also having trouble with KitKat on your Nexus 4 and are looking to downgrade to Android 4.3 Jelly Bean, here is a quick guide on doing so.
Before you jump to the steps below, make sure that the bootloader of your Nexus 4 is unlocked. Also, create a backup of all your data since the phone will be wiped completely clean during the process.
Files To Download
1. First, make sure that you have all the necessary drivers installed on your PC. While Mac or Linux users don’t need to install any kind of drivers, Windows users need to download and install this universal ADB drivers from Koush.
2. Now, you will need to get your hands on the required ADB/Fastboot files. You can download the required ADB/Fastboot files for your PC from below -:
- Windows – Download link
- Mac – Download link
- Linux – Download link
3. Extract the files of the ZIP file inside a new folder named android on your desktop. If you are using Windows, use the Command prompt to navigate to this folder.
Go to Run, type cmd and press the Enter key. From the Command prompt window that opens up, enter the following command -:
cd desktop/android
You need to enter the same command on Mac or Linux inside a new Terminal window.
This command should take you to the Android folder on your desktop that was created in Step 2. If you get an error saying the folder or directory does not exist, you will first need to navigate to your user folder.
Usually, you can do this by entering the following command -:
cd username [You are supposed to enter your computer’s username here]
If the following command works, enter the first command again to navigate to the Android folder on your desktop.
4. Download the Android 4.3 factory image for the Nexus 4 from here. Extract all the files inside the ZIP file to the android folder that you created in Step 3. The ADB/Fastboot files and all the files from the Factory image should be inside the same folder.
Installation
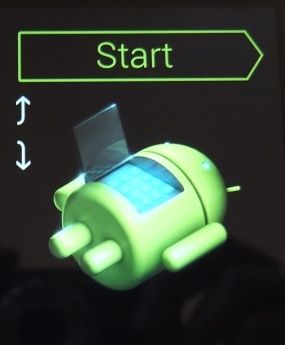
5. You will now need to put your Nexus 4 into bootloader mode. Do so by turning the device off, then pressing the Volume Up + Volume Down + Power keys, simultaneously.
Once the device has booted into Bootloader mode, connect it to your PC.
6. Now, in the Command prompt or Terminal window you had opened in Step 3, copy paste the command below, depending on the OS your PC is running.
For Mac and Linux users -:
./flash-all.sh
For Windows users -:
flash-all.bat
If you get a “fastboot command not found error” on Mac, open the ‘flash-all.sh’ script and add a “./” before every fast boot command and save the file. Then, re-run the script and the factory image should be flashed just fine.


