How to upgrade your Galaxy Note 4 to Lollipop yourself

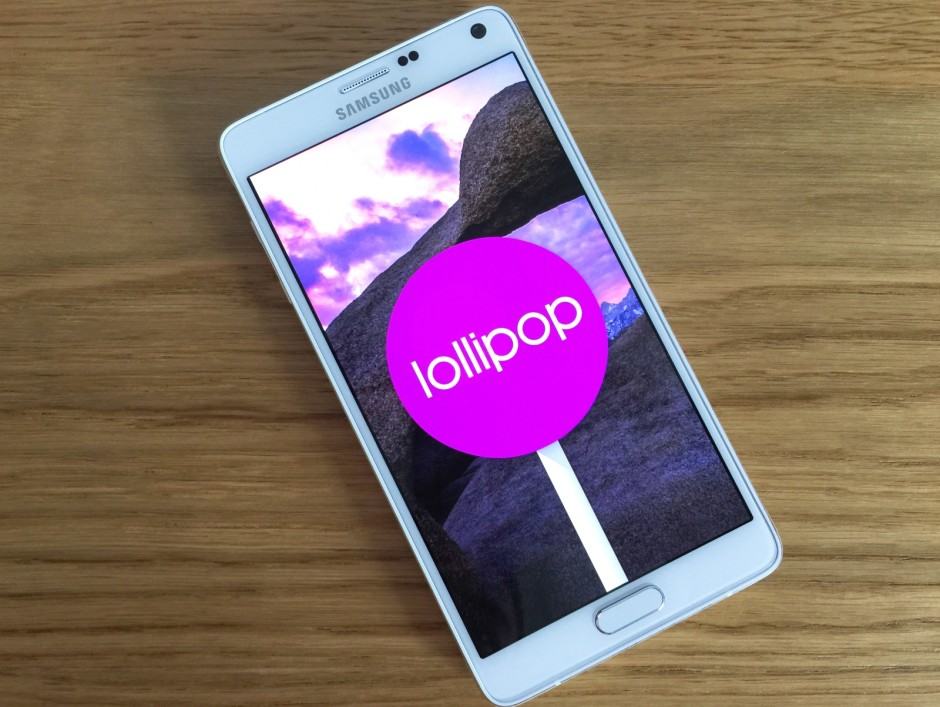
Lollipop on the Galaxy Note 4. Photo: Killian Bell/Cult of Android
Tired of waiting for Samsung to bring Lollipop to your Galaxy Note 4? If you have one of a number of Note 4 variants, the software may be available for manual installation. It’s a super simple process, and it won’t void your warranty.
Requirements:
- Compatible Note 4 (backed up) with at least 60% battery life
- Compatible Lollipop firmware (link below)
- PC with Odin and Samsung drivers installed (links below)
Before you get started, you need to establish whether Lollipop is actually available for your Note 4. It may not have rolled out in your country yet, but the software may have reached other markets that use the same Note 4 variant you do.
For instance, Lollipop hasn’t reached the U.K. yet, but U.K. users with an SM-N910F handset can use the software Samsung rolled out in Germany, which is perfectly compatible with their device (I’ve been running it for about a week now).
Just keep in mind you need official Samsung firmware; finding a custom ROM based on Lollipop isn’t going to work. I recommend visiting SamMobile’s firmware section, where you can enter your Note 4 model number to see if Lollipop is available for it yet.
Once you’ve obtained your firmware, extract it to your desktop. Now download Odin, the tool you’ll need to flash it to your Note 4, and extract that to your desktop, too.
You’re also going to need to install Samsung’s drivers so that your Note 4 is properly recognized by your PC. If you’ve previously installed the Kies application, you’ll already have these. If you haven’t, you can install Kies now, or install the drivers on their own.
Remember, following this process will not trip your Knox counter or void your warranty; you are installing official Samsung firmware. The process will not wipe your device, either, so all of your data will remain. However, we recommend backing up first anyway, just in case.
Once you have your firmware, Odin, drivers installed, and Note 4 backed up it’s time to begin.
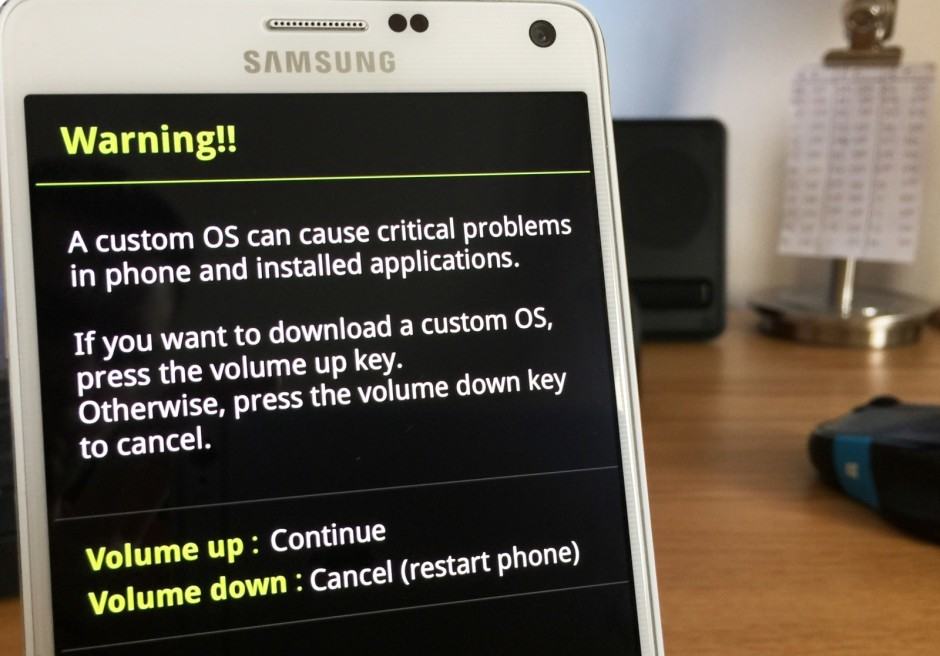
Put your device into download mode by first powering it off, then starting up back up again while holding down the volume down and home buttons. You’ll be presented with a warning screen, at which point you’ll need to press the volume up button.

Press the volume up button to proceed at this screen. Photo: Killian Bell/Cult of Android
Now open up Odin on your PC with administrator privileges by right-clicking on its icon and selecting “Run as administrator.”
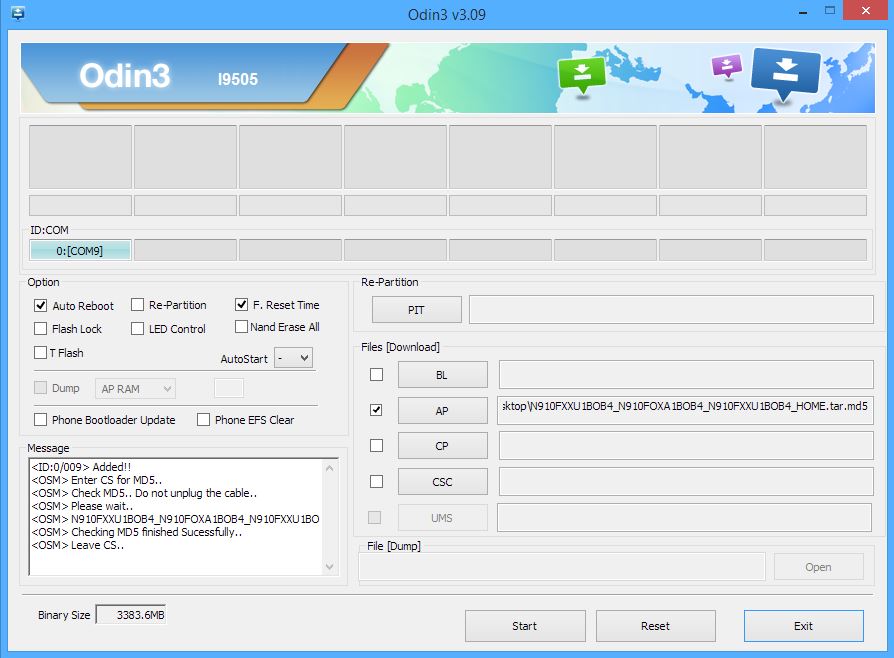
You can now plug your Note 4 into your computer, and if your drivers were installed correctly, it will be recognized by Odin. Now click the “AP” button, and select the firmware file you extracted to your desktop.
Before you continue, ensure you have the right options selected in Odin, because getting them wrong can turn your Note 4 into an expensive brick. You want to make sure that “Auto Reboot” and “F. Reset Time” are enabled, but nothing else should be.
It’s particularly important that you do not select “Re-Partition.”
If your Odin screen looks identical to mine in the screenshot below, you can proceed by clicking the “Start” button.

If your Odin screen doesn’t look like this, don’t proceed. Screenshot: Killian Bell/Cult of Android
Android 5.0 Lollipop will now be installed on your device, and Odin’s message box will tell you your Note 4 has been “removed” when the process is complete.
The first time you boot up your Note 4, it will update all of your apps for Lollipop, which runs on the ART runtime by default. This will take a while depending on how many apps you have installed, so just leave it be and let it do its thing.
Once this step is complete, you’ll have Samsung’s latest Lollipop firmware running on your Note 4.


